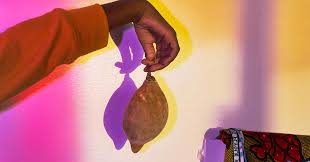
Schadographs
Schadographs are a type of cameraless photography, developed by Christian Schad. Using photographic paper, he placed it by the window, with objects placed on top of it, and. a piece of glass holding it down. He would leave it by the window for six hours, and develop it after. This method was created after the discovery of photographic paper, however it was one of the first uses of it in art. He employed the use of ordinary objects, but presented them upon the paper in such a way that turned them into surreal, ambiguous works of art. Often, he cut the pieces of photographic paper into shapes around the objects in order to release the image from the confines of the ordinary edges of the paper.
Rayographs
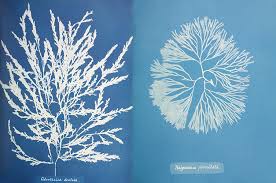
A rayograph is simply a photographic image created by laying objects onto photographic paper and exposing it to light. Man Ray coined the term rayographs, however the most commonly used term is a photogram. The outcomes of these techniques are often not immediately obvious as to what the subject is; they are simply silhouettes,
Photograms
László Moholy-Nagy was the creator of another type of camera less photography; the photogram was invented by him and it uses light sensitive paper, with objects placed upon it, exposed to light and developed.
Developing photos in the dark room
|
We were recently shown how to develop photos in the darkroom.
|
|
Journeys
|
|
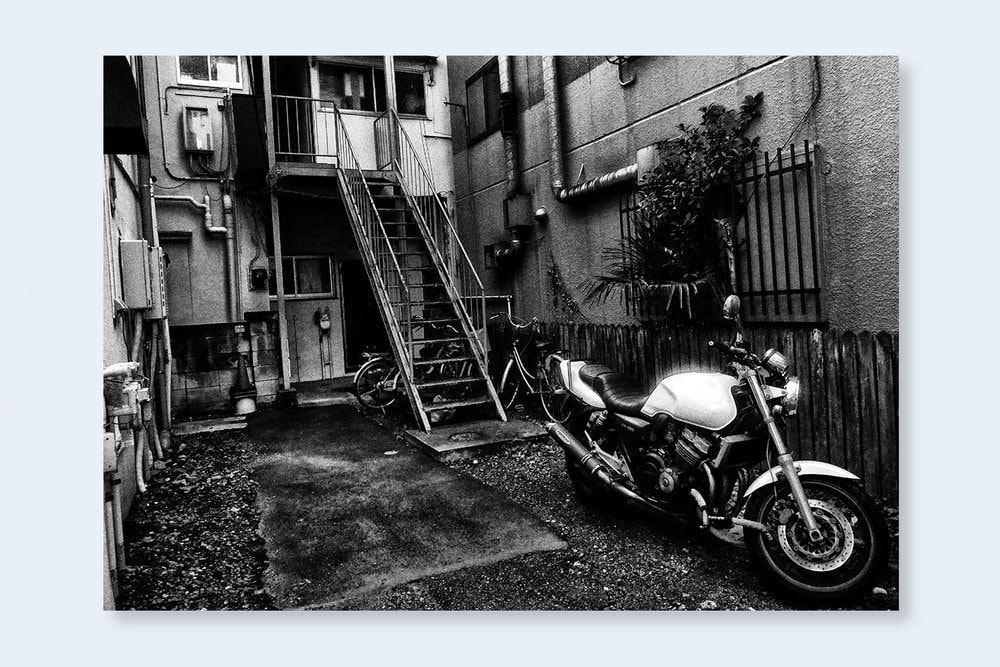
Daido Moriyama is a Japanese street photographer, who prefers to photograph in cities as he claims to be "addicted" to them. He takes snap shots of instant moments as he walks around the city, and he prefers to use a small camera that allows him to photograph people without startling them. He finds colour to be too "vulgar", too decisive and definitive. Black and white is his preferred scheme, because to him, its erotic. It has an effect of "taking you to another place".
|

My journey
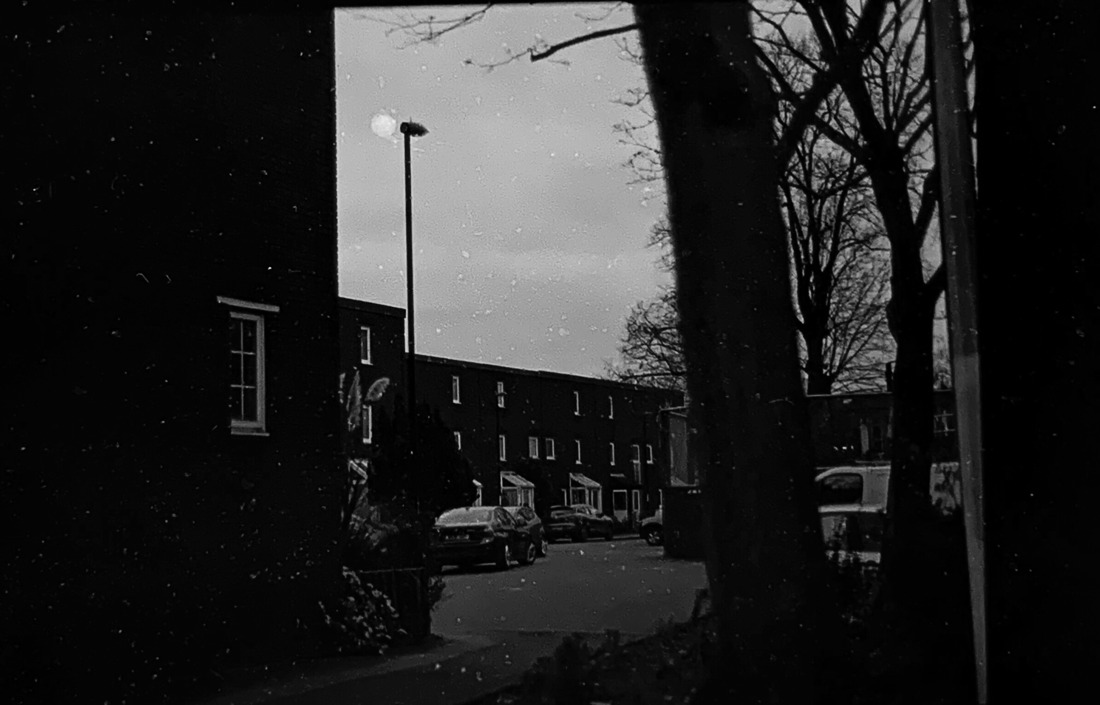
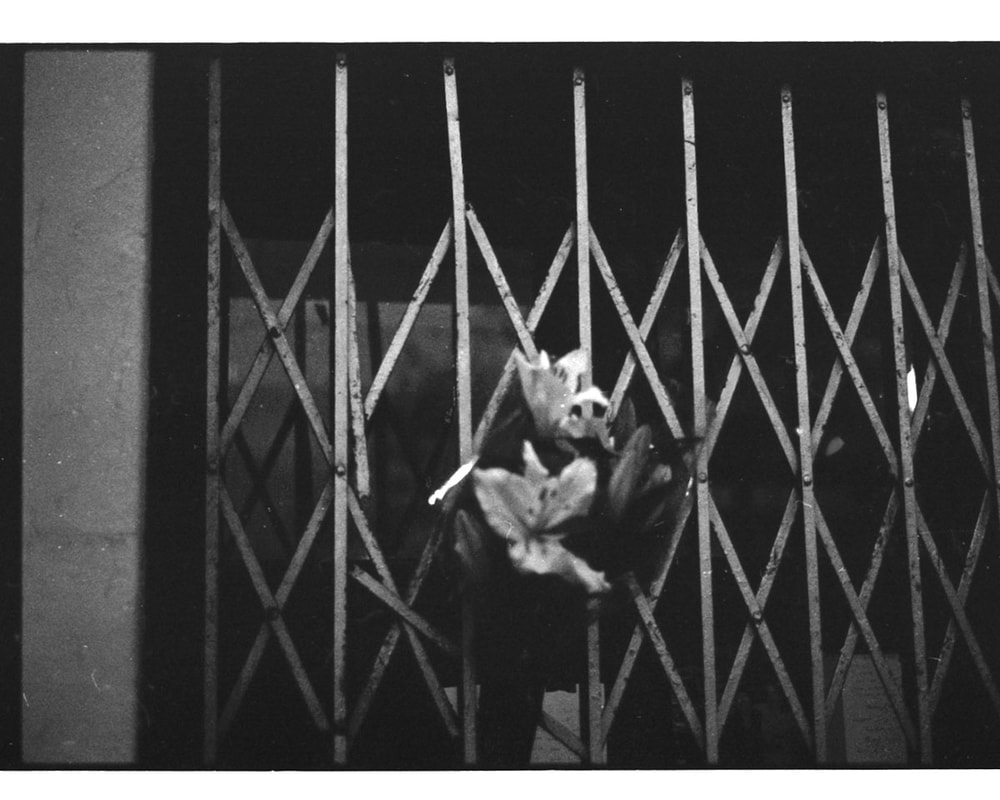
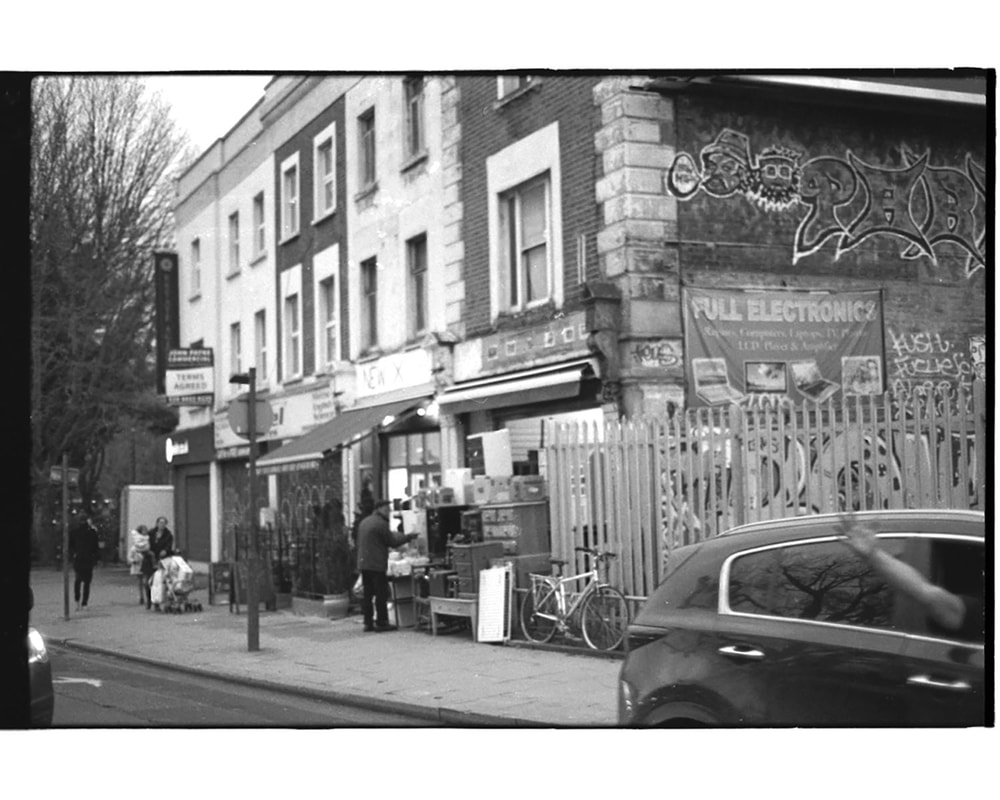
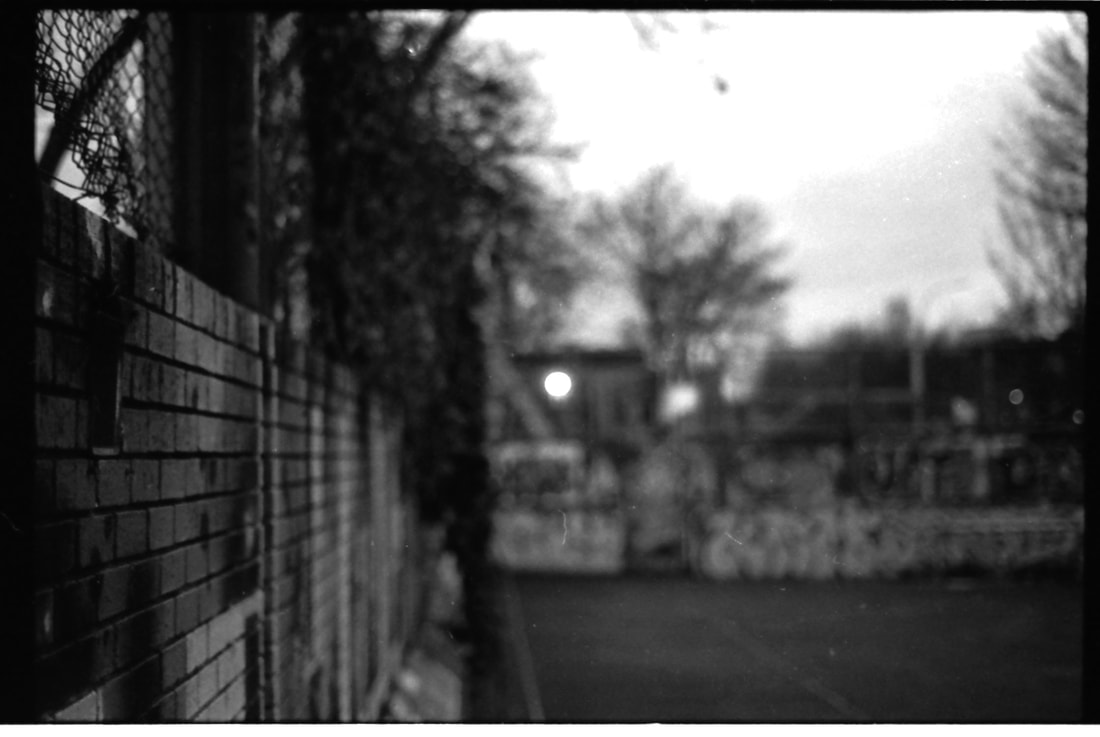
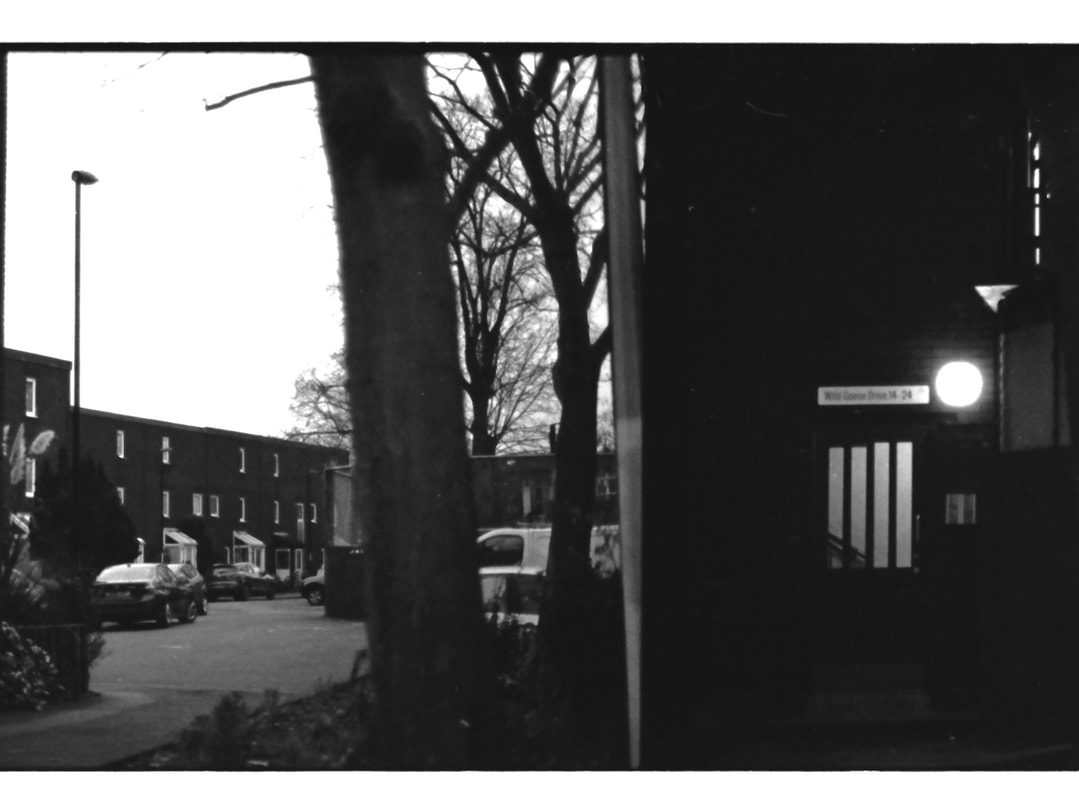
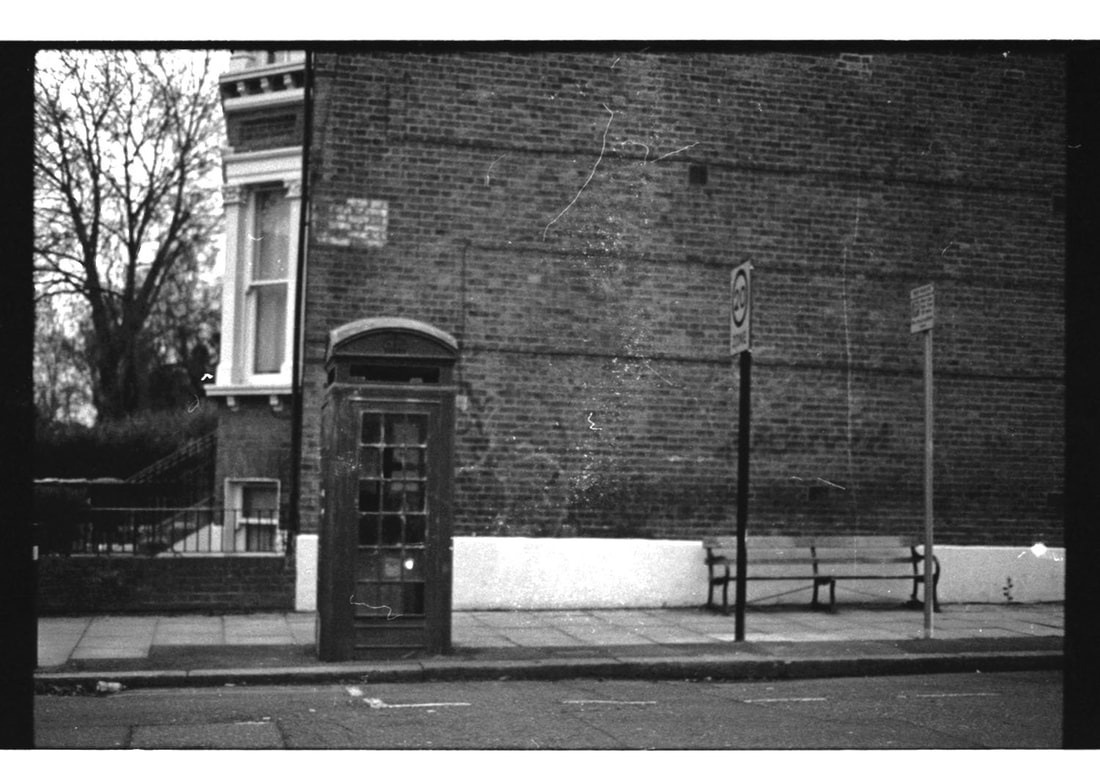
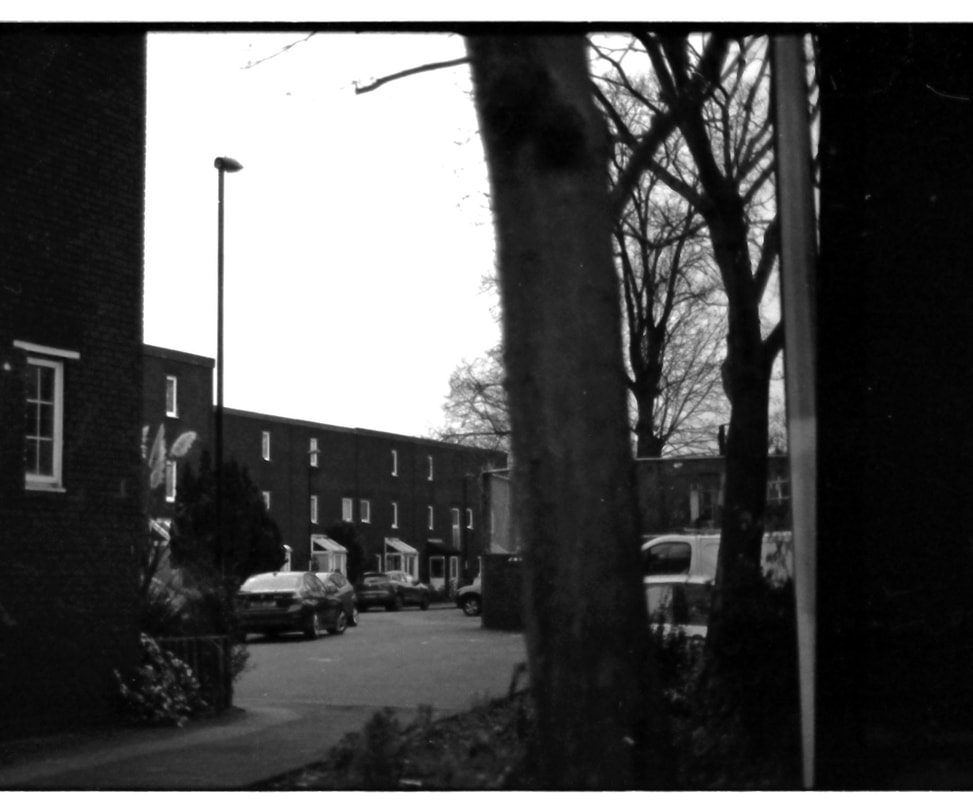
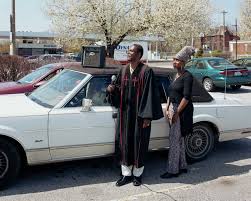
I filmed my journey into central London on my canon powershot S70 in order to complete the task we were given, which was to photograph a journey and interview a stranger. The reason for which we had to interview a stranger was to help us gain confidence when it comes to asking strangers to take their pictures. I didn’t do both of these tasks on the same day, because it took me a while to gain confidence. There were many people that i tried to interveiw but felt i was unable to due to one reason or another, and on one of the last days before this was due in I decided to just do it. I feel as though, by completing this task, i have boosted my confidence by quite a large amount. In terms of taking photos of strangers on the street, prior to this task I found i was able to ask people at events such as protests, or most of the time at other events people would come up to me and ask me to take their photograph. However, aside from these specific scenarios i never would have asked to take a photograph of a strange, but now i feel as if I can.
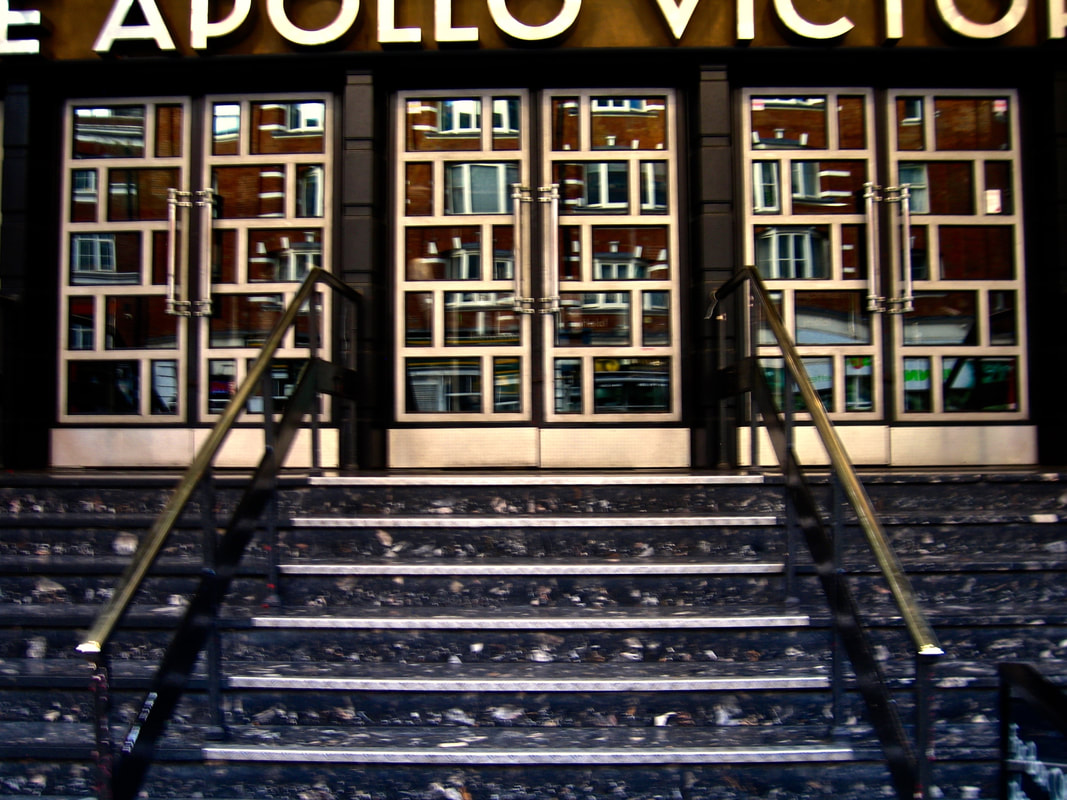
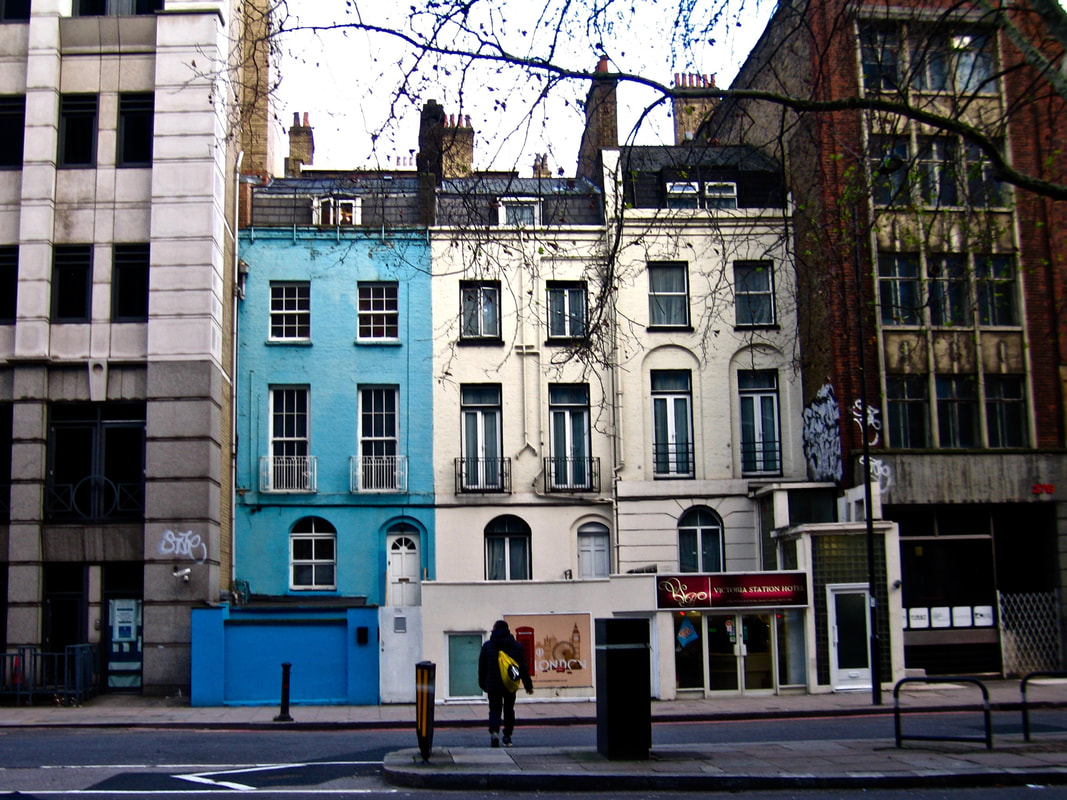
This film is a combination of short clips shot on my way to london victoria station, on the train that runs through blackheath station, where my journey started. Due to the highly pixelated quality of the video, i decided to film the edited clips (that i had uploaded into Adobe Premier on the computer) on my phone using an app called 8mm, which allows your videos to seem as if they are filmed on a super 8 camera. there are many other effects, such as one just entitled '70s', which is what i used to create this. the reason I filmed the the computer video onto my phone is because the filter, along with the fact that it wasnt the direct video made the video appear less glitchy and pixelated.
This film is a combination of short clips shot on my way to london victoria station, on the train that runs through blackheath station, where my journey started. Due to the highly pixelated quality of the video, i decided to film the edited clips (that i had uploaded into Adobe Premier on the computer) on my phone using an app called 8mm, which allows your videos to seem as if they are filmed on a super 8 camera. there are many other effects, such as one just entitled '70s', which is what i used to create this. the reason I filmed the the computer video onto my phone is because the filter, along with the fact that it wasnt the direct video made the video appear less glitchy and pixelated.
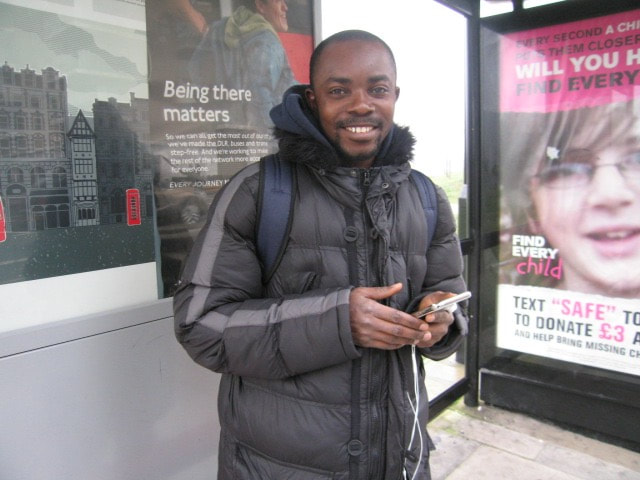
I also decided to interview a man I saw at the bus stop. I took a photo of him and asked him if he had any prior connection to photography and art, to which he replied no I have not. I then asked if he could suggest to me somewhere in London that I could journey to and take photographs of and he replied with “ anywhere! The world is great, you are free to go anywhere.”
Pierre Cordier
|
Pierre Cordier is considered the father of chemigrams. He first invented them in the army when attemoting to make a birthday card for a German girl he'd met. He used photographic paper and wrote "Happy 21st Erica" on it in nail varnish. He discovered that this created an unusual type of photograph,
|
|
Photogram Experiments and Chemigram Experiments
Here I have used two types of darkroom processes; Chemigrams and photograms. I combined the two processes, using chemicals such as lipgloss, which left a pink stain on the paper, nail varnish remover, water sprinkled on with a paintbrush, bleach, and perfume. The solvent that I found best to use was the perfume, because the marks it left were cloudy and billowy, and left different tones of light and dark, and looked almost translucent.
For the photograms, I used mainly glass objects, such as a glass lid that is concaved and a glass lipgloss container, a perfume lid and a glass flower perfume lid. I also used a plastic cup and a sheet of instructions printed onto paper.
For the photograms, I used mainly glass objects, such as a glass lid that is concaved and a glass lipgloss container, a perfume lid and a glass flower perfume lid. I also used a plastic cup and a sheet of instructions printed onto paper.
|
This is the first chemigram I made, using lipgloss and perfume. This was the least successful because it looks too scratchy and harsh, almost as if I have just rubbed away at the paper.
However, I do like the tint that it has left from the pink lipgloss, as it adds another dimension to the print, and is different to the other photograms that i have seen which are simply black and white. |
|
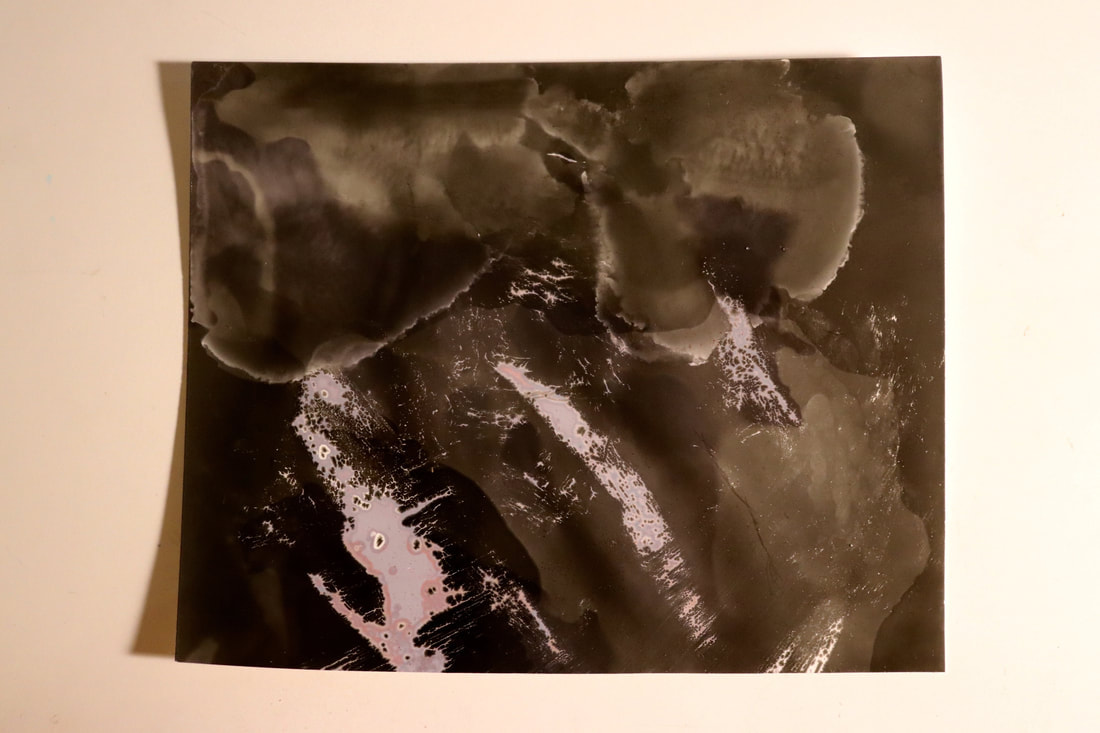
This was the second chemigram i made. This time around i used less lipgloss, and added nail varnish remover to the mix as-well as the perfume. I like the marks that the perfume and nail varnish remover have made, because they are more dimensional and unique, as rather than directly placing the solvents onto the paper, as I did with the lipgloss, I had less control over the marks made as i was spraying the perfume and spilling the nail varnish remover.
|
|
|
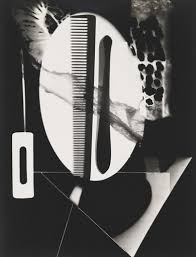
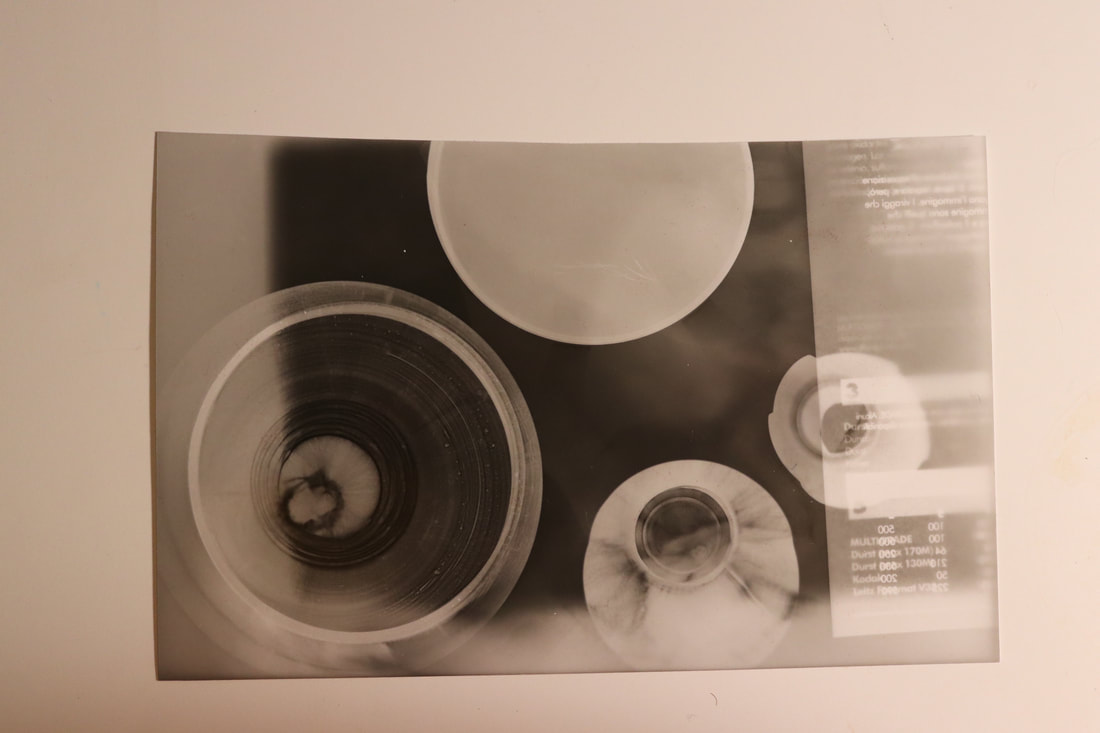
This was the first photogram i created. I used three glass lids, a piece of paper with instructions written on it and a plastic cup. However, I accidentally shone the light on only a small section of the paper, rather than the whole thing, which is why it has a more faded affect around the edge. I do think this is quite effective because of the use of glass objects which creates a translucent marking and actually, rather than just being an outline, allows us too see all the curves and the actual structure of the objects.
|
|
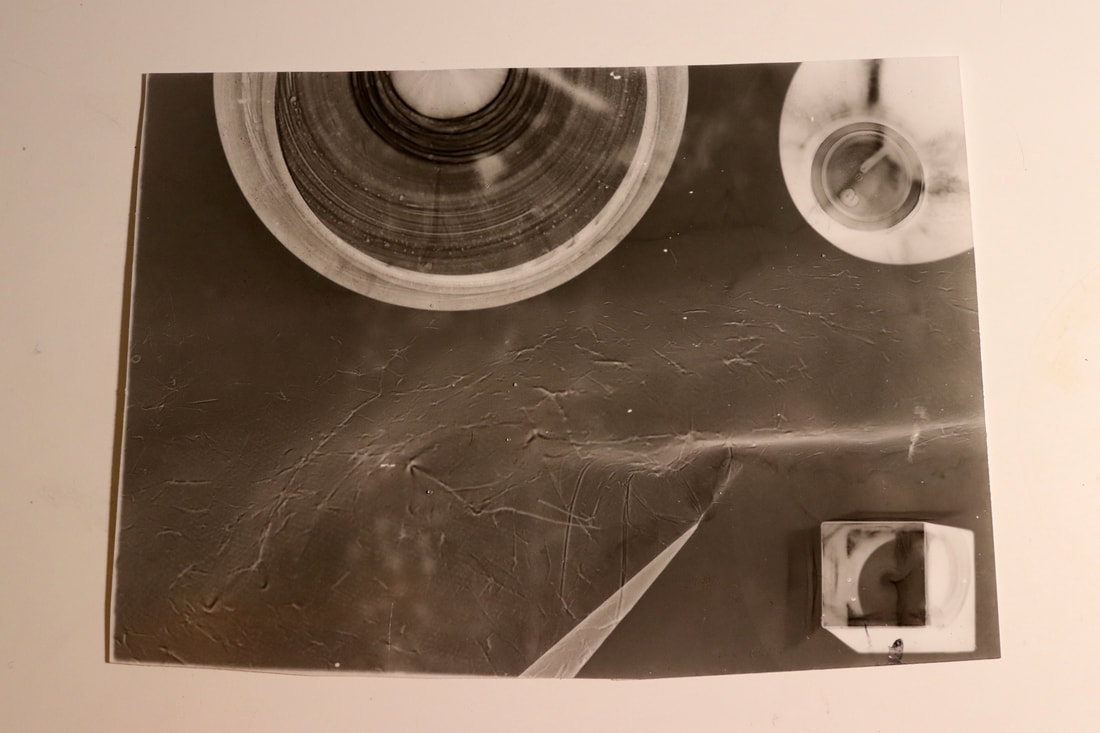
This photogram used the same glass objects as the previous photogram, however this time I first layered a piece of coloured cellophane, with the objects placed on top of it so that they held it down at the edges, but it was slightly raised in the middle, allowing the light to shine through. The effect of this almost looks like water, and I think this works really well as an experiment.
|
|
|
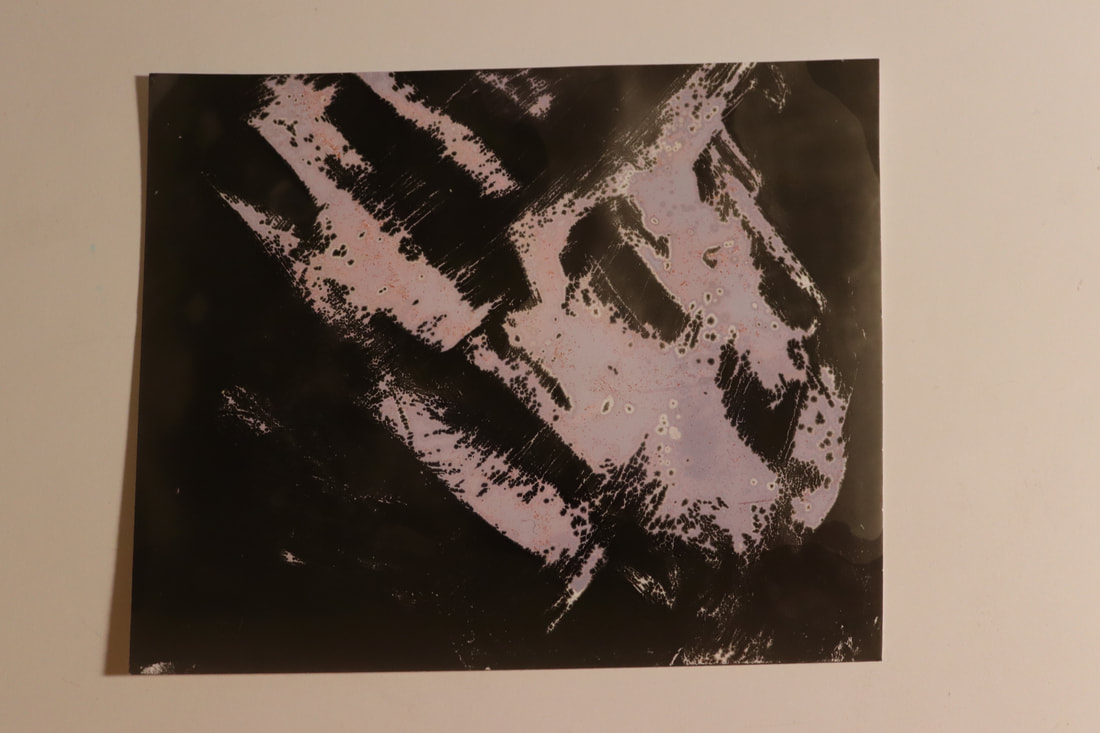
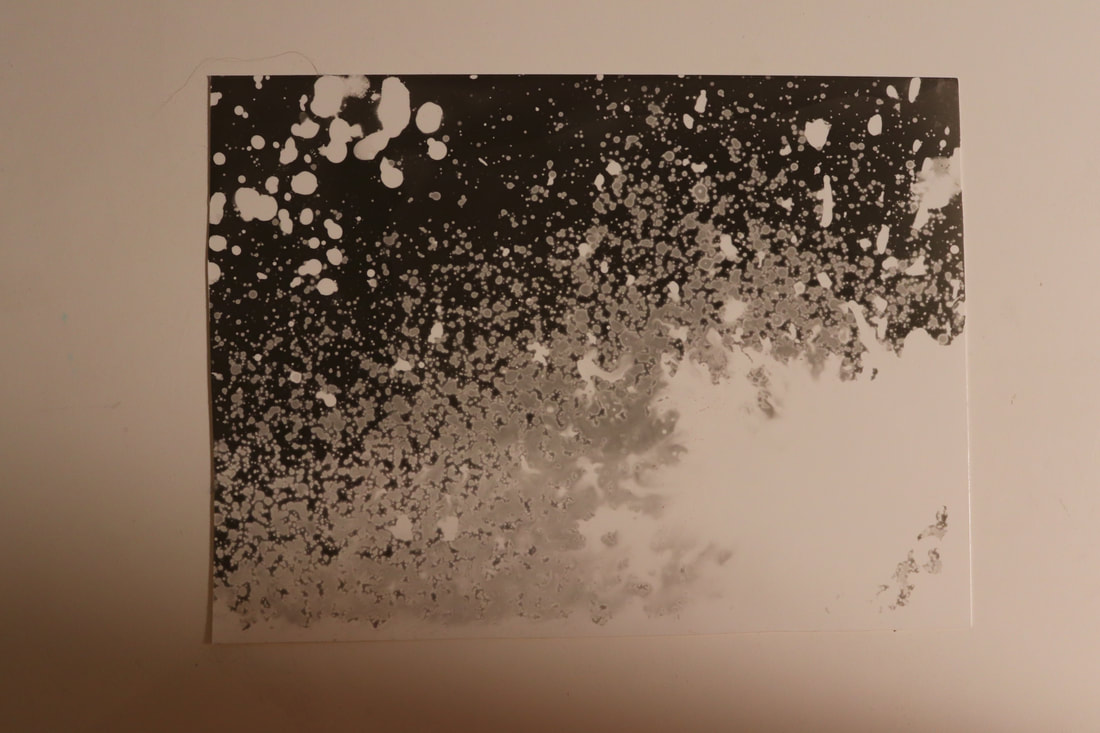
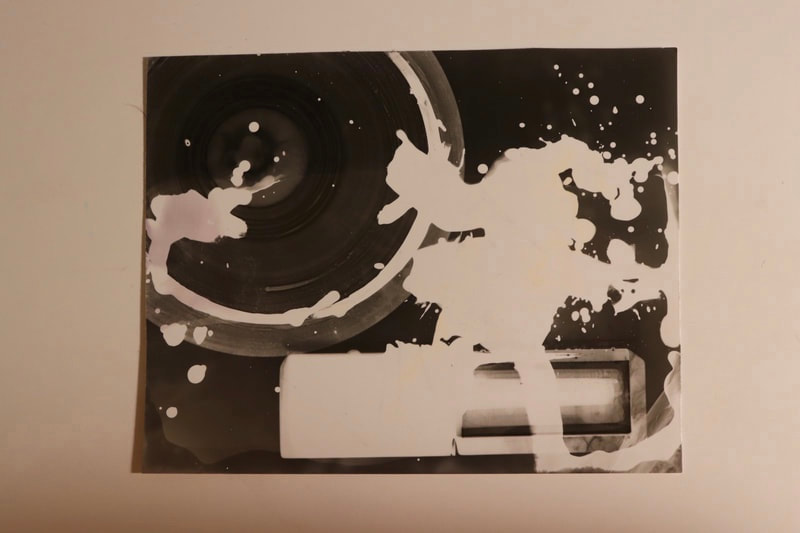
This was the final chemigram that I made. I used water splashed on with a paintbrush and a bit of bleach, which is on the area that is completely white. I like the almost ombré look that this has, I think it’s extremely effective and looks very deliberate, but was actually an accident. This is my favourite out of all the chemigrams, because it also has the most tonal markings.
|
|
This last one is my favourite. I used the same glass lid, which is the object in the upper left corner, and I also used a glass lipgloss container with lipgloss in the middle. I combined this photogram with some chemicals, using the same bleach sprinkled on, and also some nail varnish remover, which made the faint marks in the bottom left had corner.
|
|
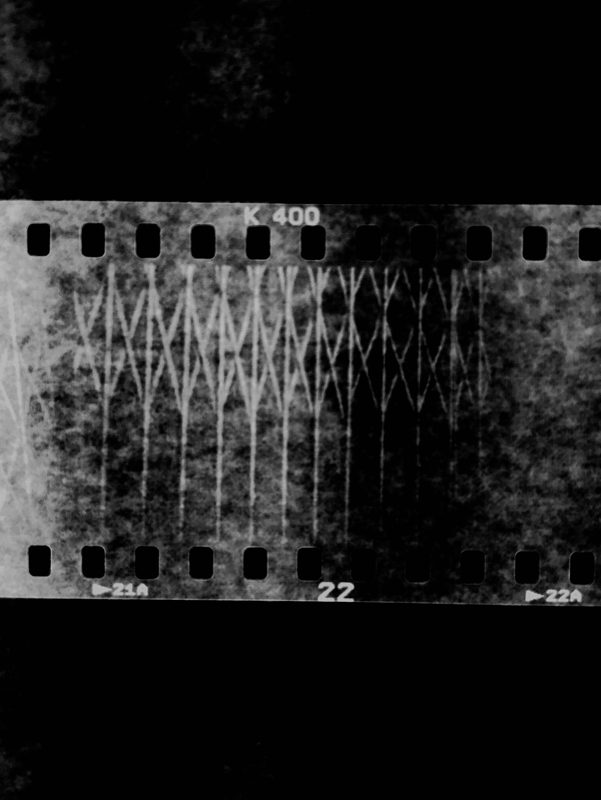
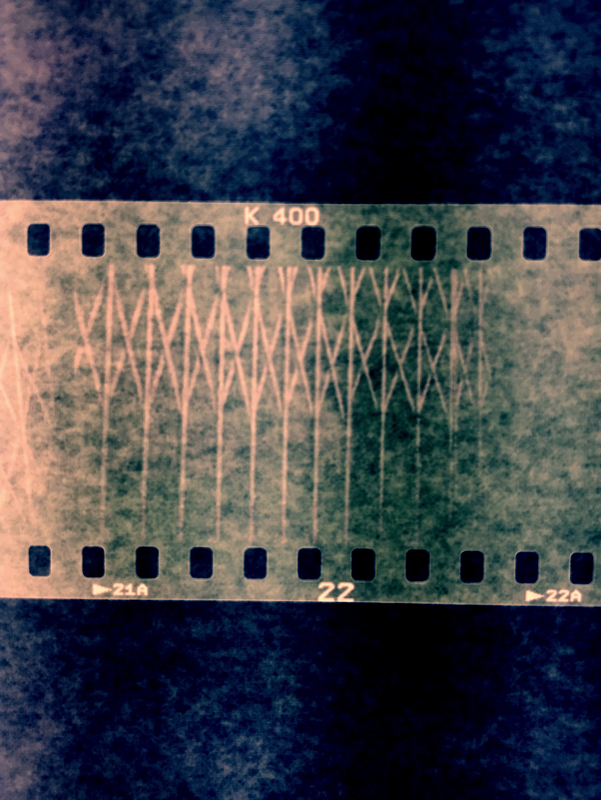
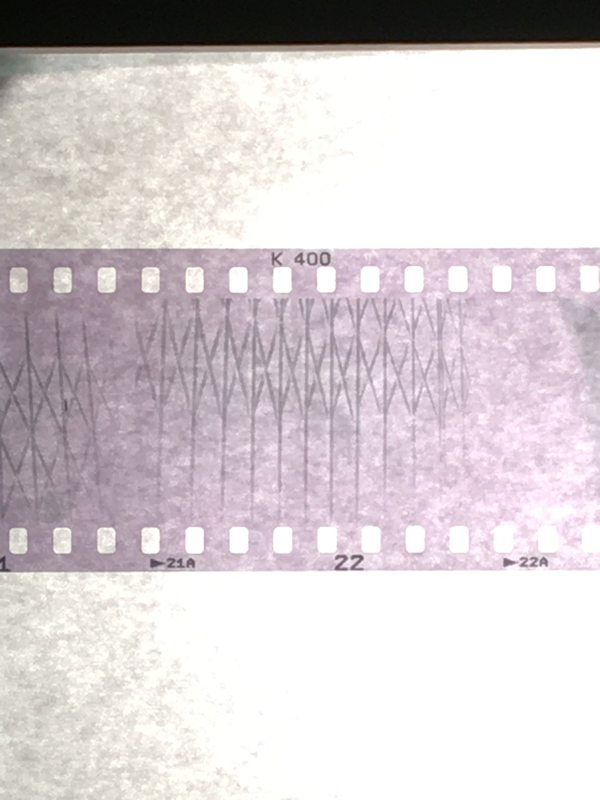
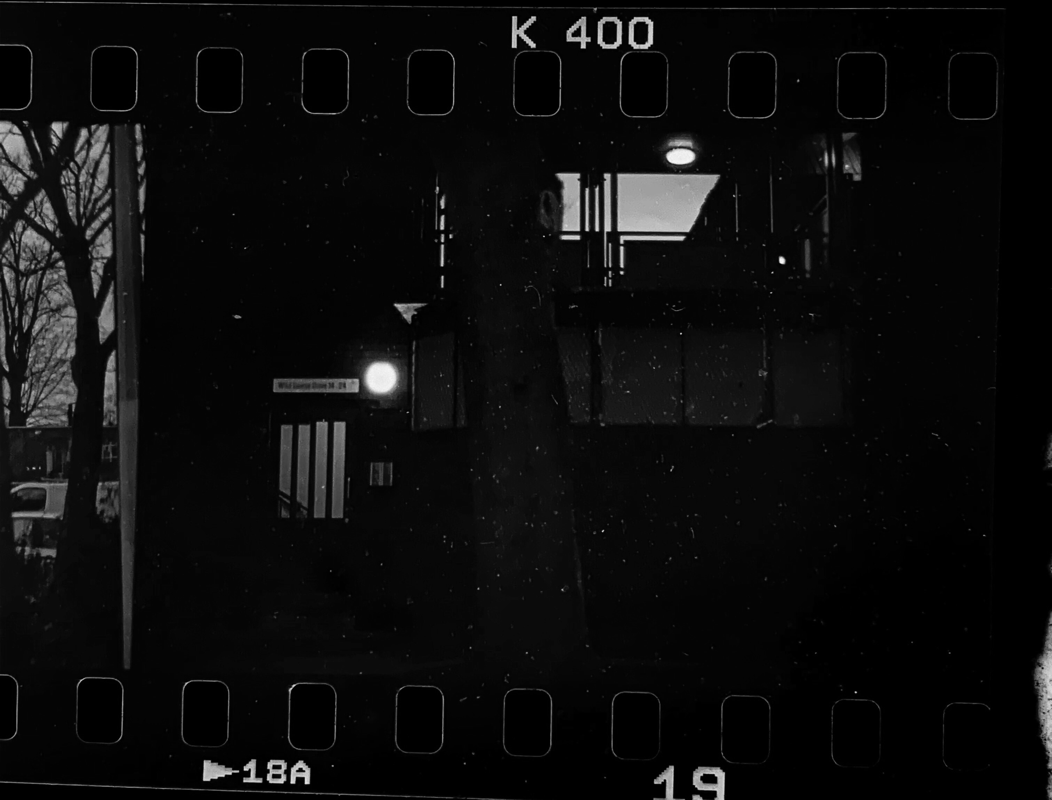
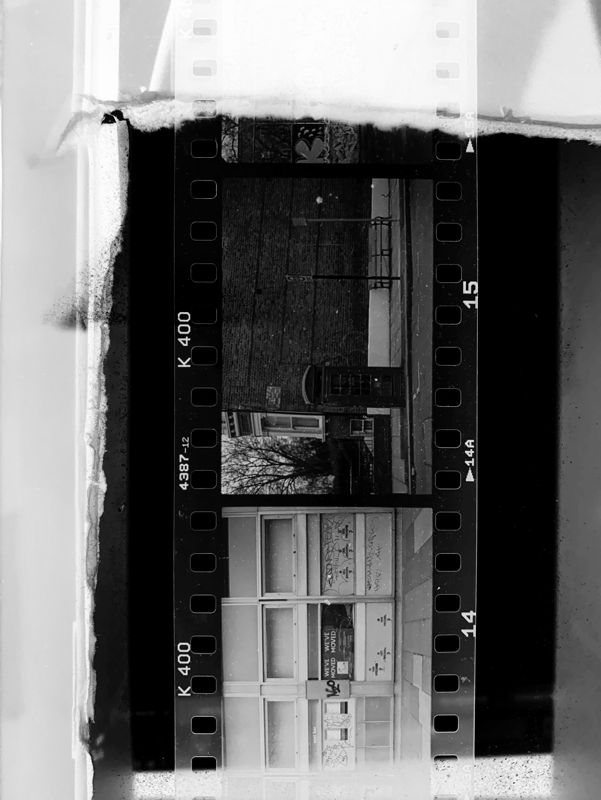
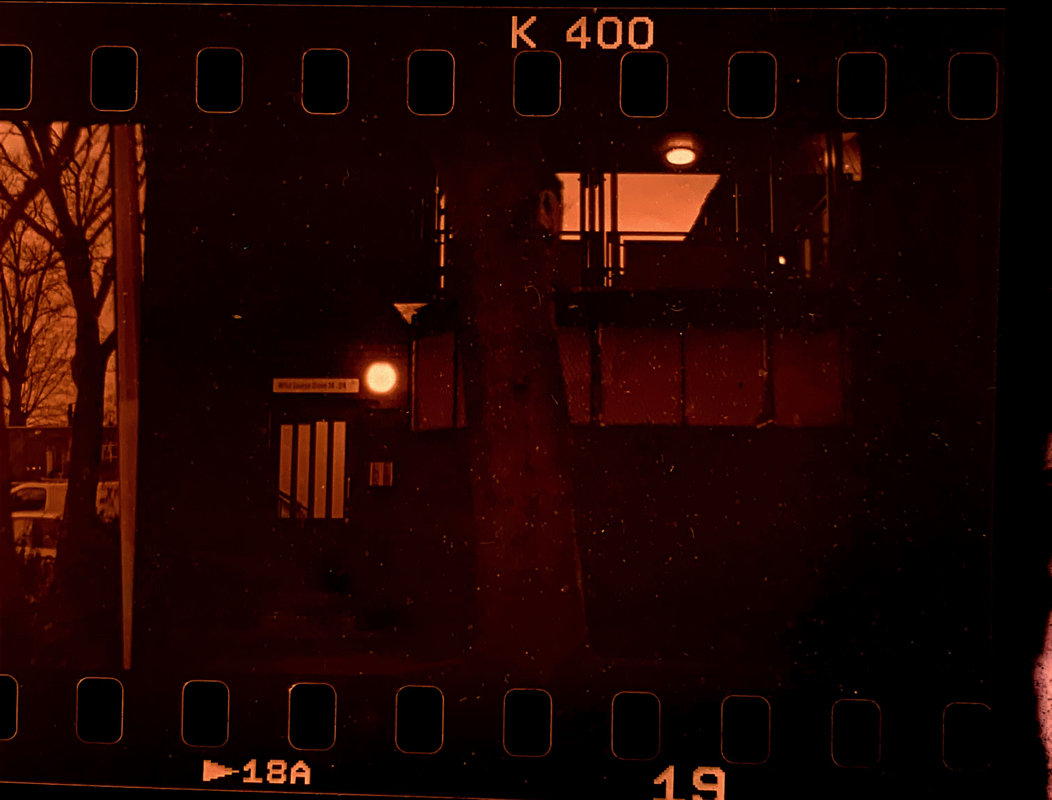
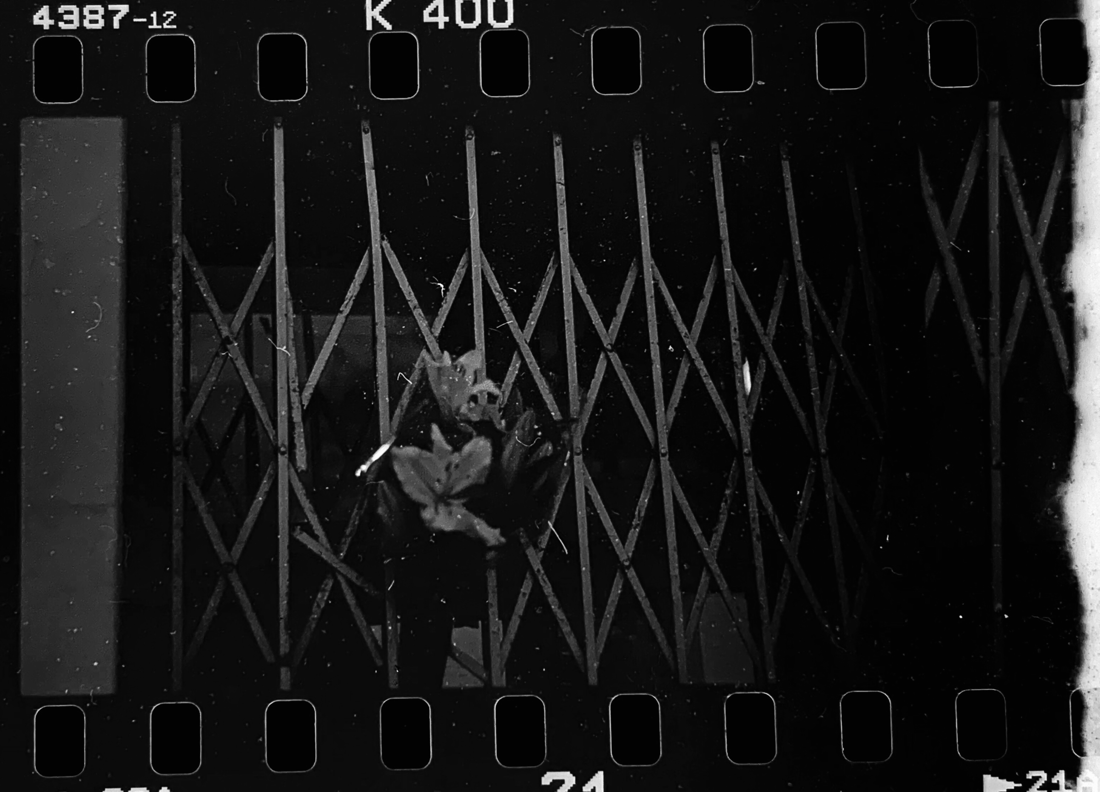
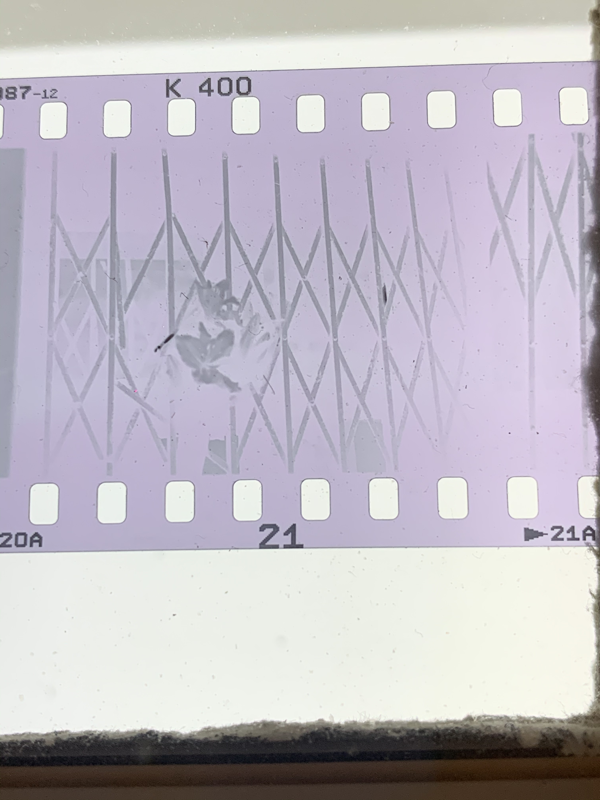
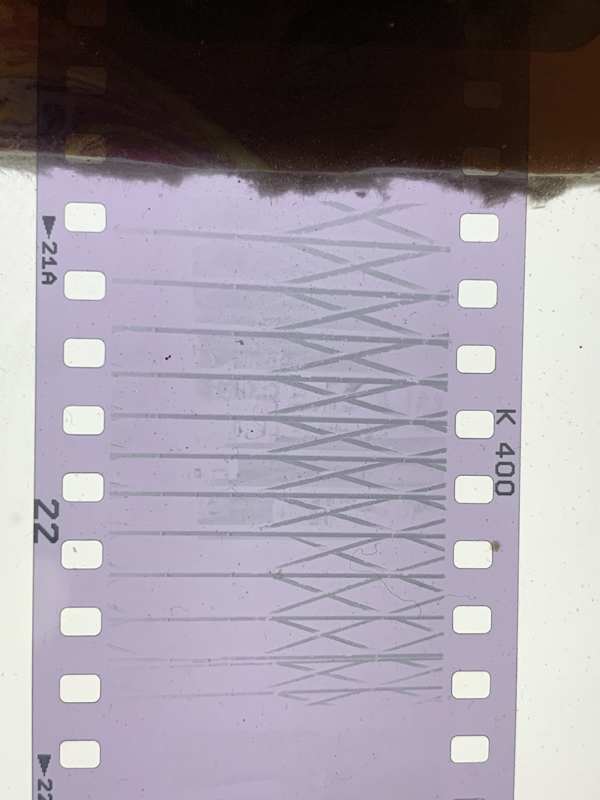
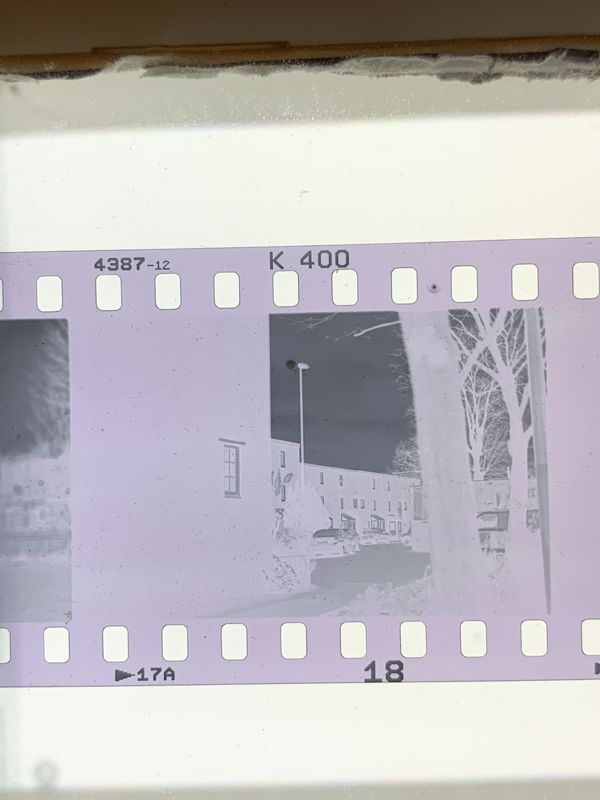
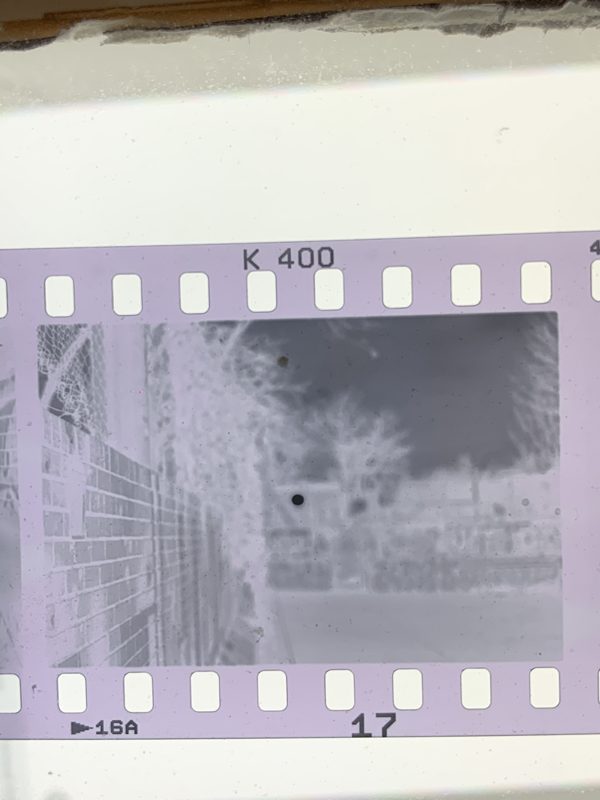
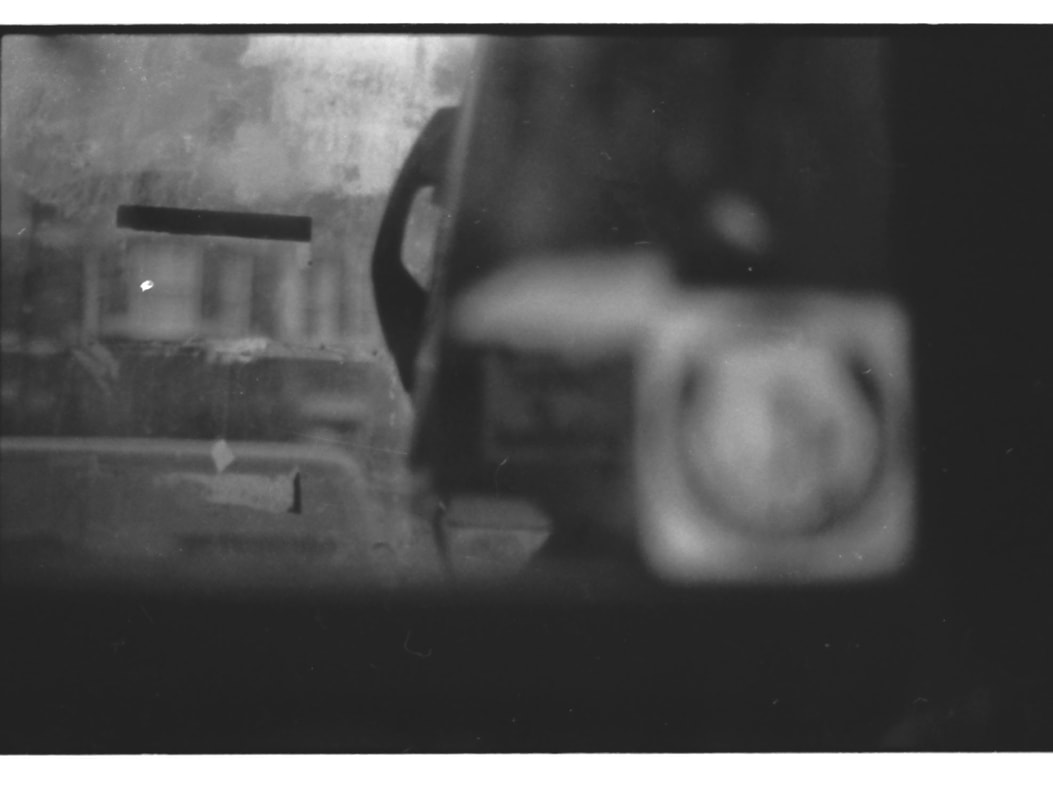
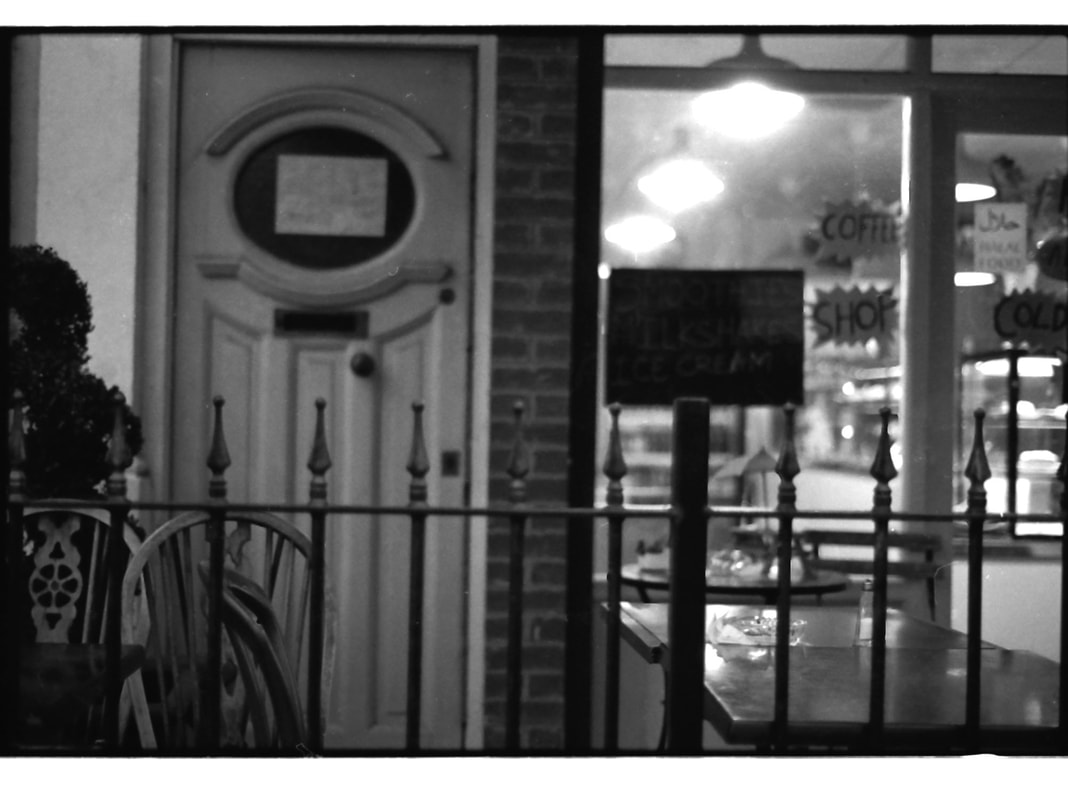
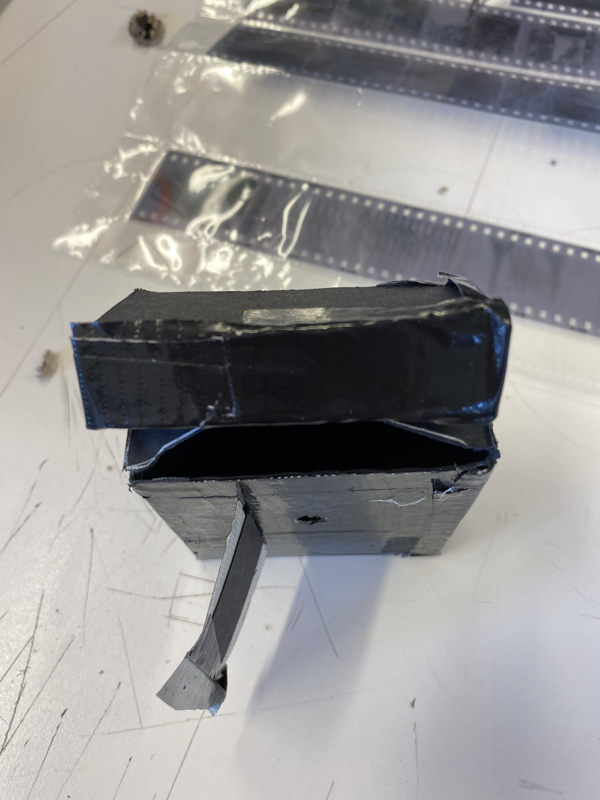
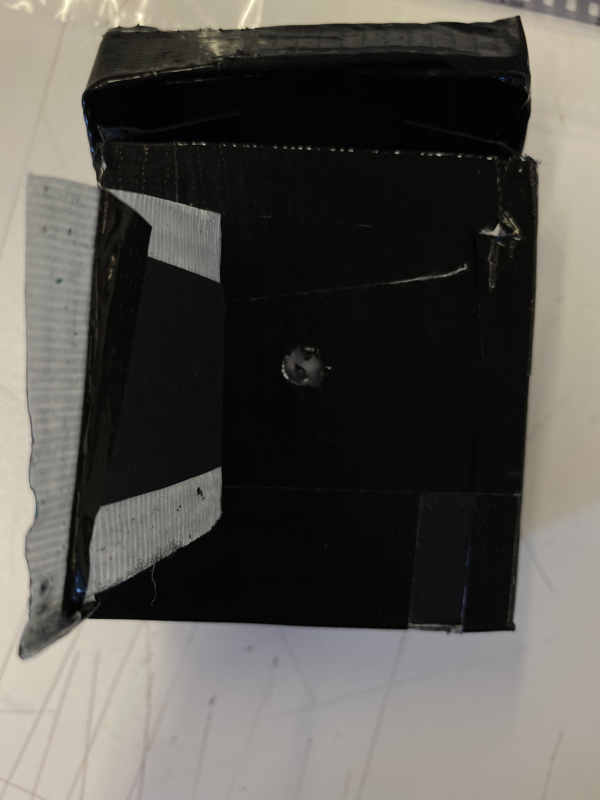
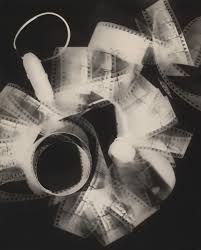
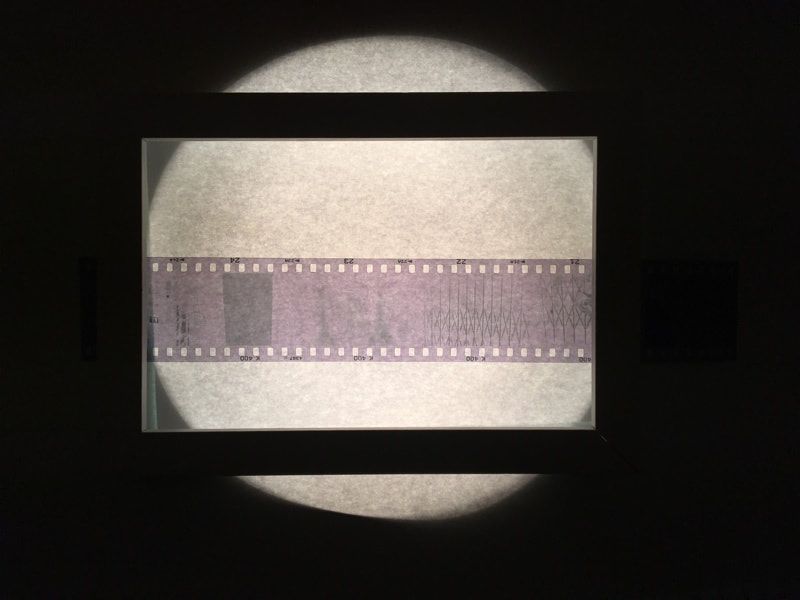
Scanning My Developed Film
|
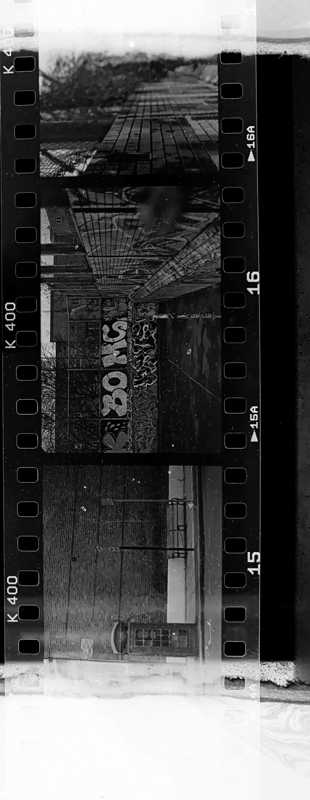
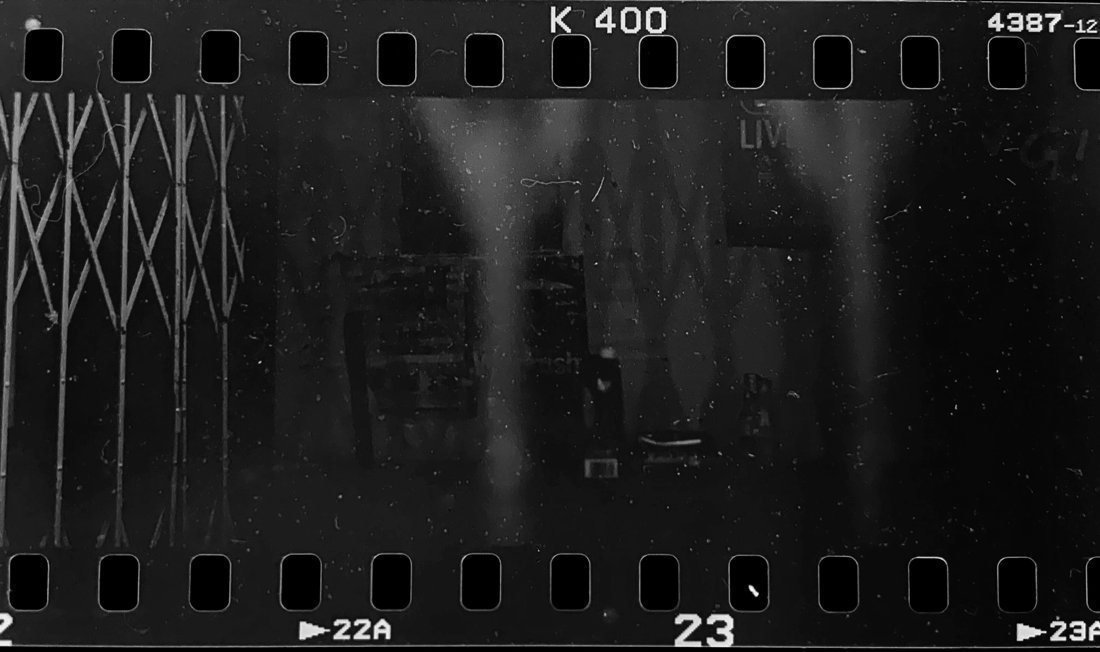
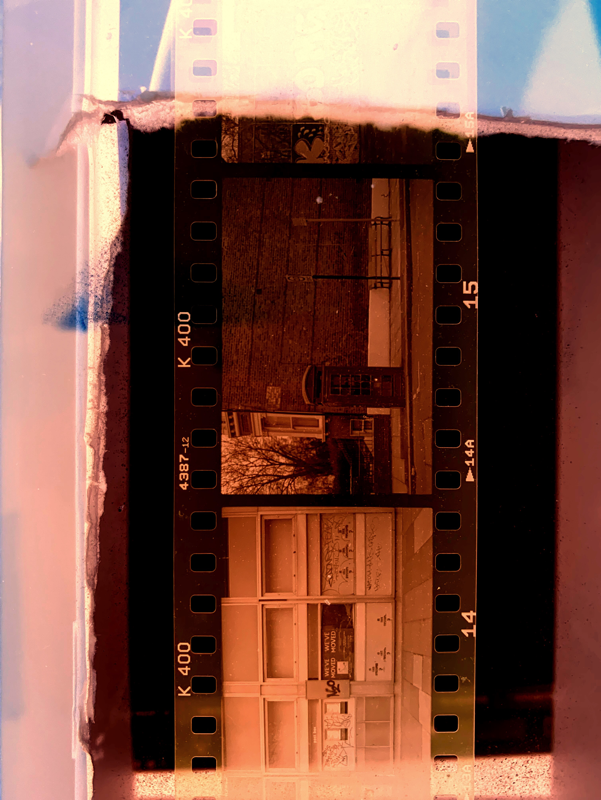
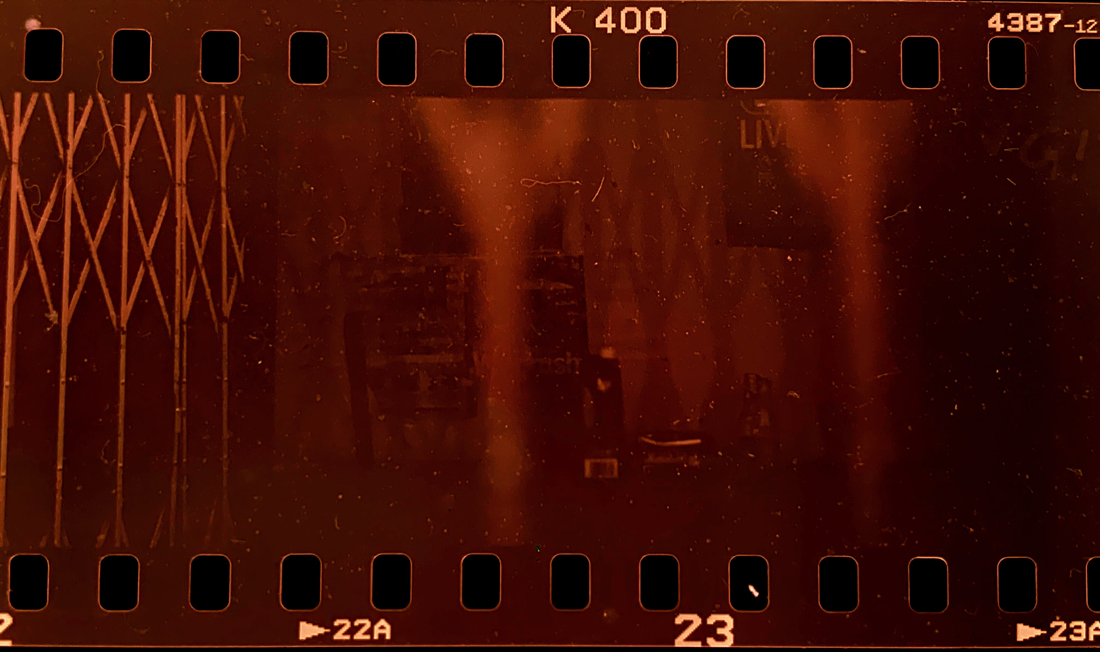
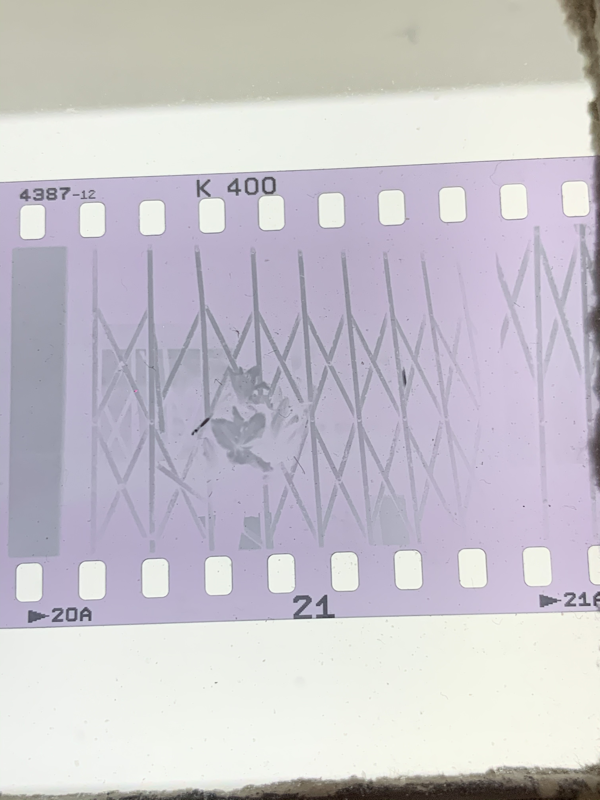
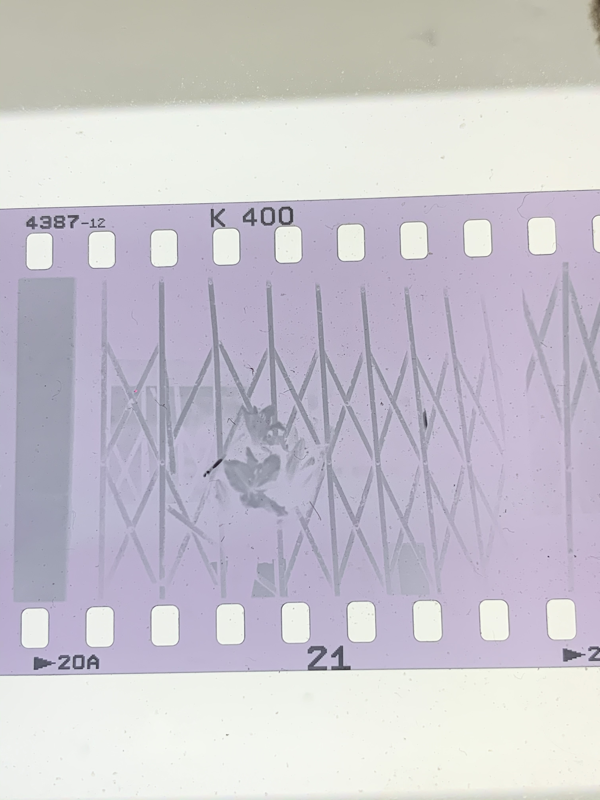
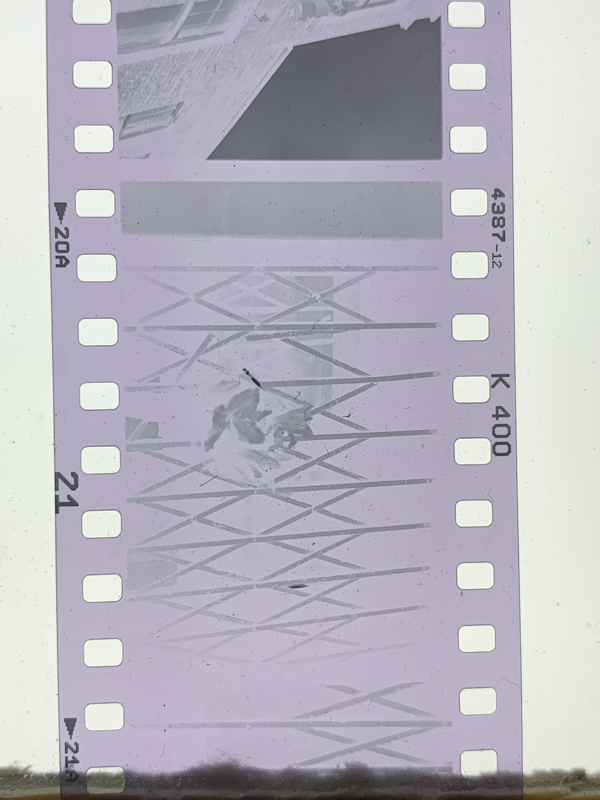
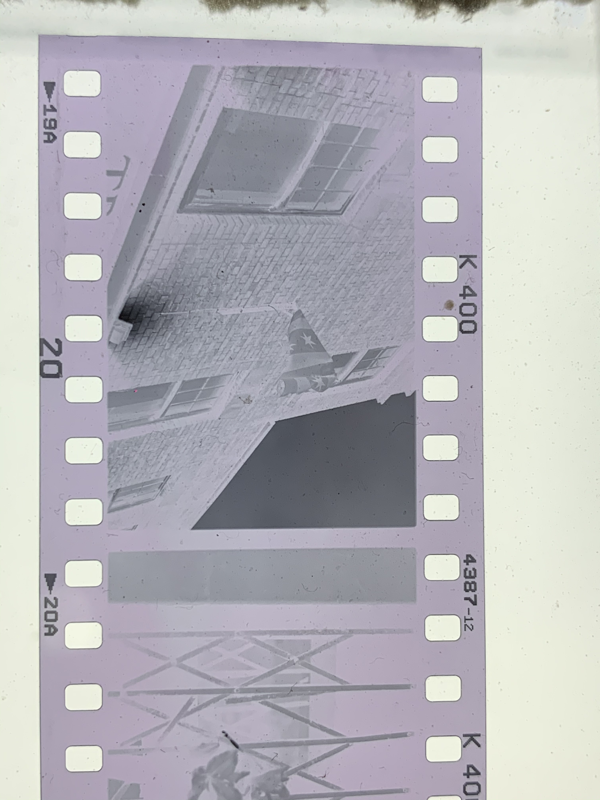
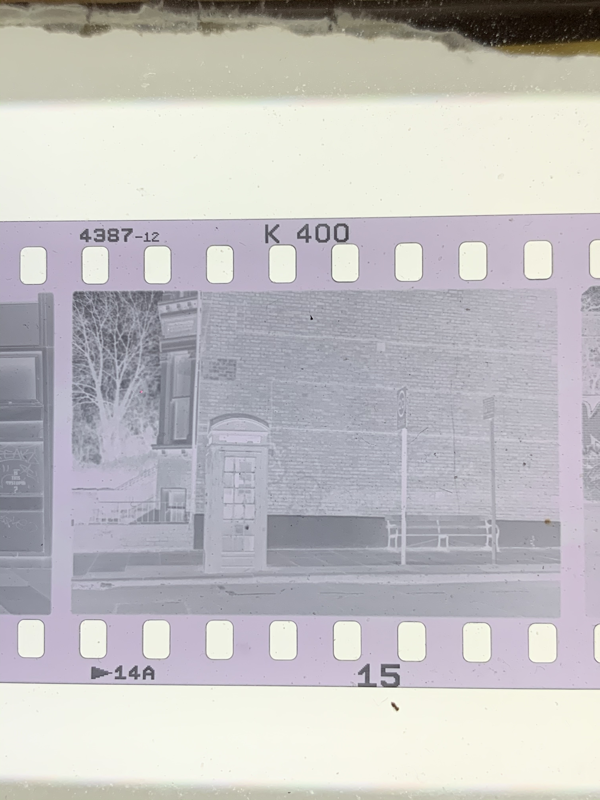
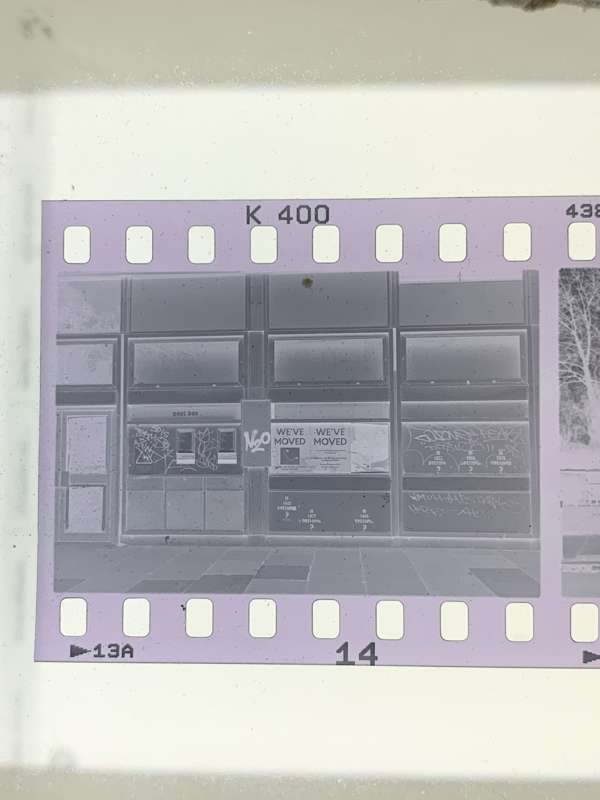
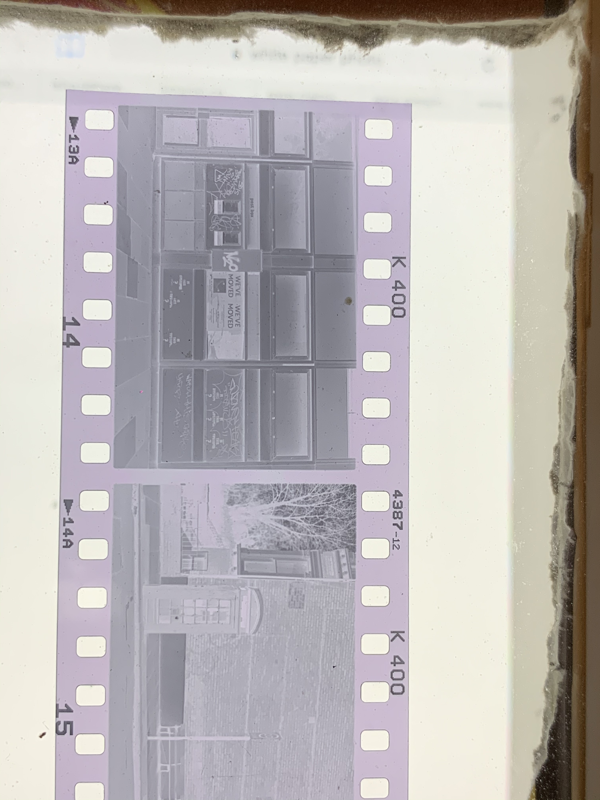
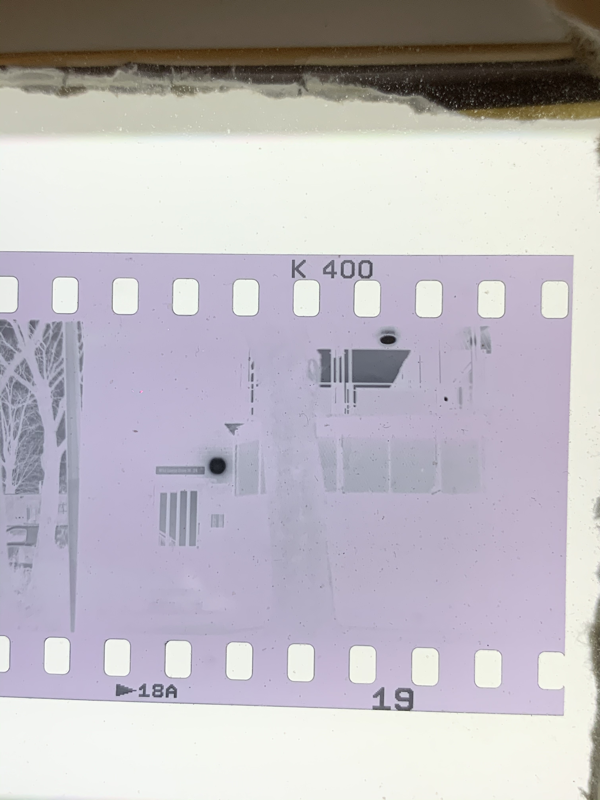
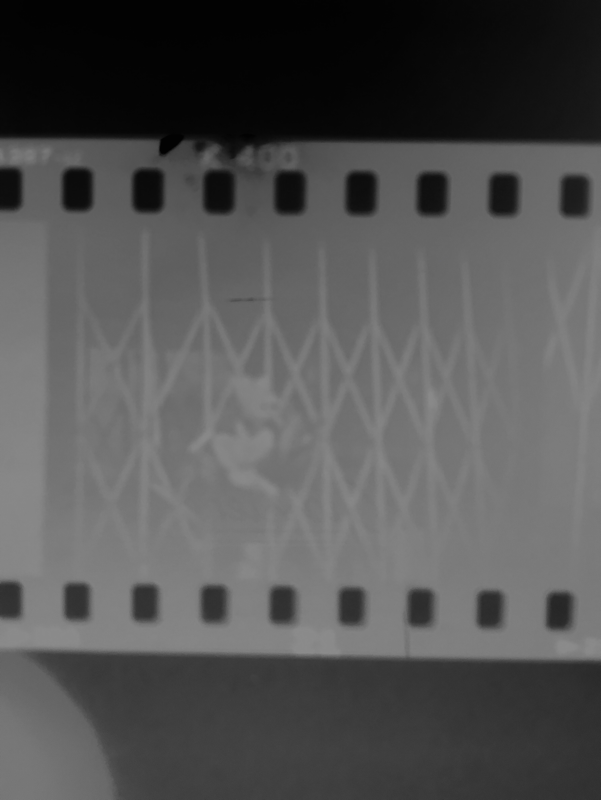
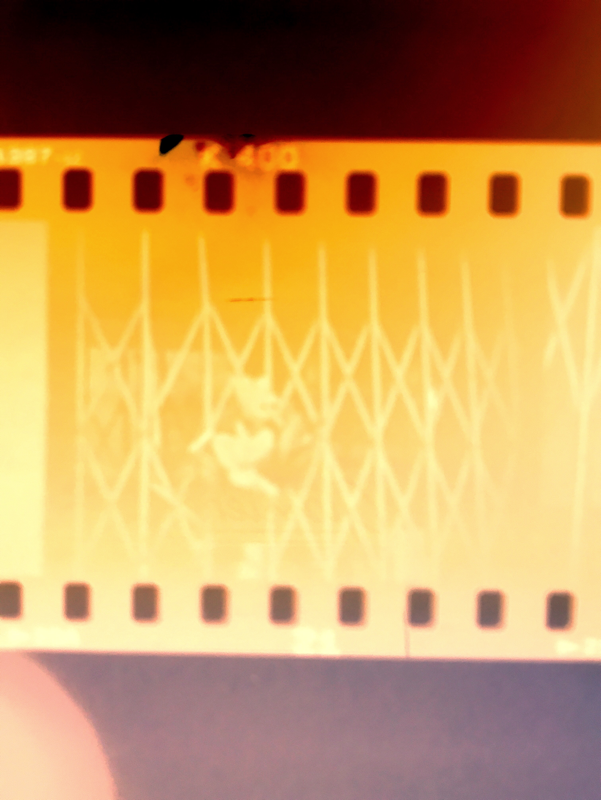
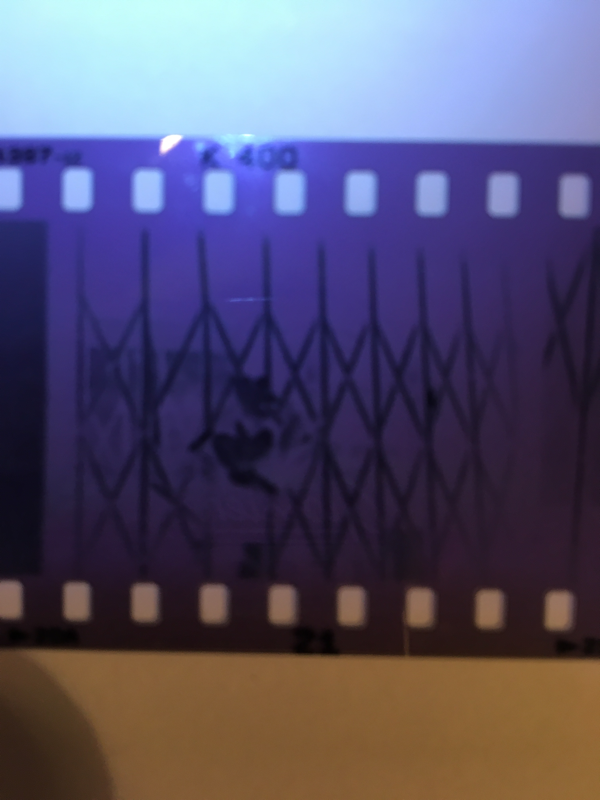
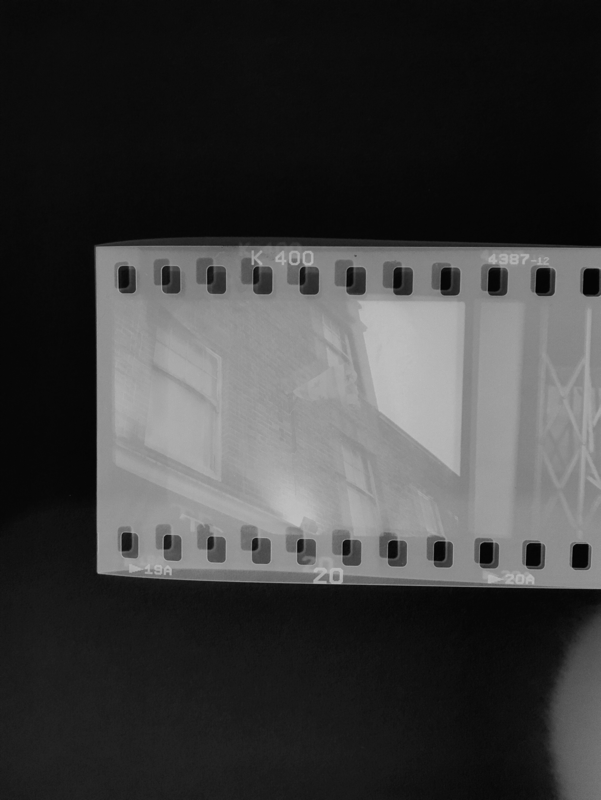
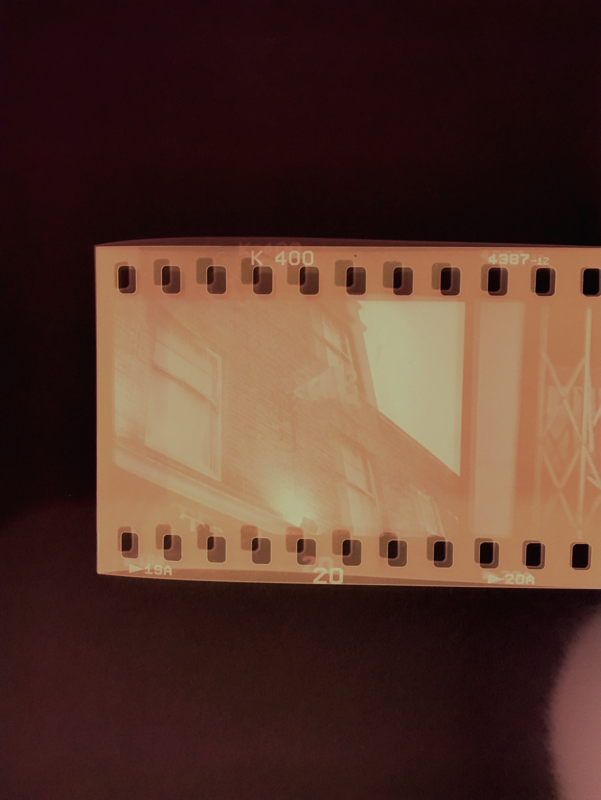
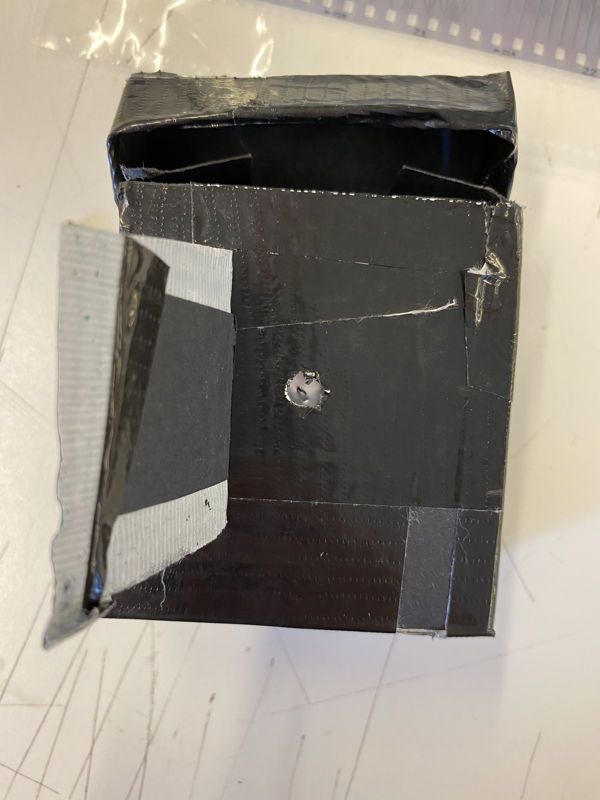
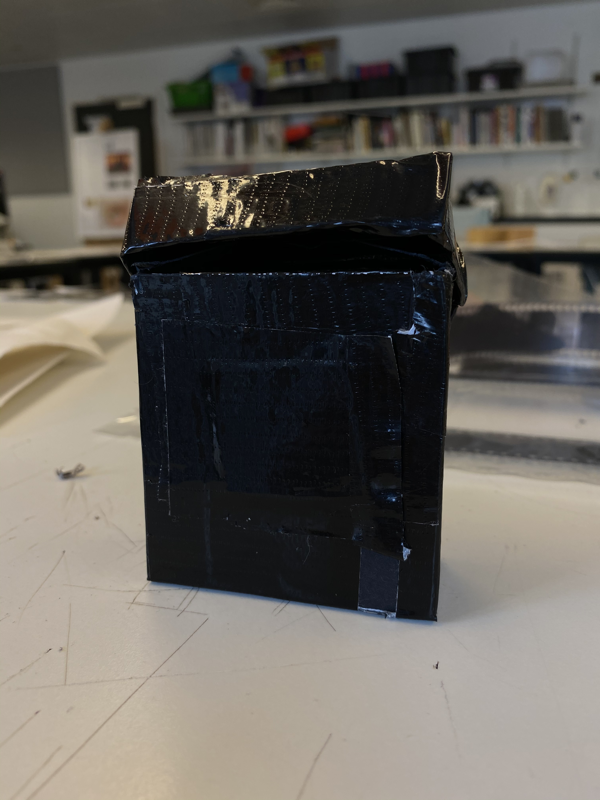
We developed our rolls of black and white film in the darkroom at school, but didn't make any prints, so i decided to try and make my own. In order to do this,I tried to make a light box.
I made two, and the photograph on the right shows the first one. For this I took a desk light that can clip onto things, and turned it upwards so it was facing the ceiling. I then balanced a piece of glass on top of the light frame so that the light would shine directly through. Next I took a piece of paper and placed it on top of the glass, in order to create that white screen. Finally, I placed a piece of film on top of the paper, held down by a picture frame. These first few images, as you can see below, didnt turn out great. The paper left too much of an imprint. |
|